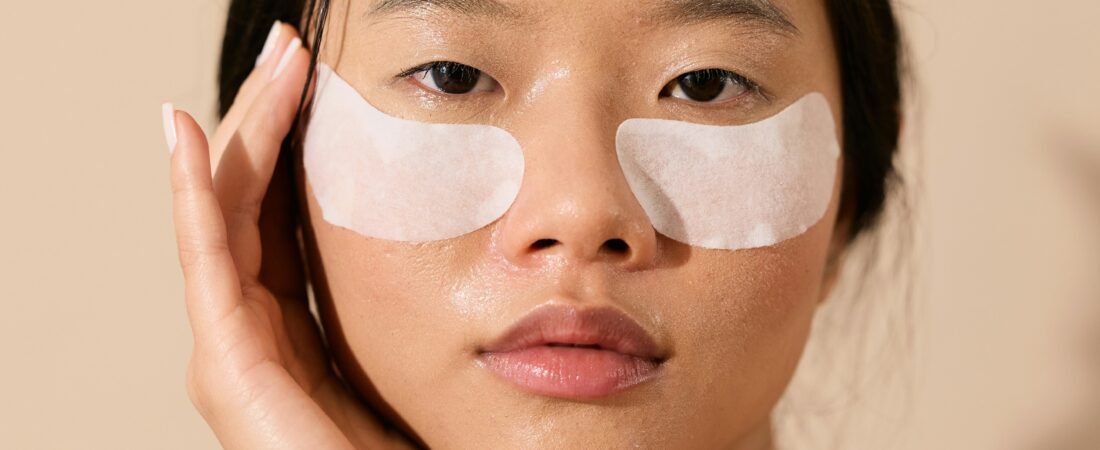
If you’ve spent any time on skincare TikTok or Pinterest, you’ve probably seen the phrase “7-step Korean skincare routine” and felt a small wave of panic. Seven steps sounds like a lot. It sounds like a part-time job.
Here’s the honest version: the 7-step routine isn’t a strict rulebook. It’s a framework — a logical order that Korean skincare culture developed around one simple idea: healthy skin starts with a strong skin barrier, and a strong skin barrier is built in layers, not with a single miracle product.
This guide walks through all seven steps, explains what each one is actually doing for your skin, and — just as importantly — tells you which steps you can skip on a busy day without undoing your progress.
Why the Order Matters More Than the Number
Before we get into the steps, it helps to understand the underlying logic. Korean skincare routines are generally built around a thin-to-thick rule: you apply products from the lightest, most watery texture to the heaviest, most occlusive one. This lets each layer absorb properly instead of sitting on top of the last one, and it means active ingredients can actually reach the skin instead of getting blocked.
That’s really all the “7 steps” are — a thin-to-thick sequence that happens to have seven common categories. Once you understand the logic, you can rearrange or simplify it to fit your own skin.
Step 1: Oil Cleanser
The routine starts with an oil-based cleanser, and this is the step most beginners skip — which is a shame, because it’s doing real work.
Oil cleansers dissolve sunscreen, makeup, and the sebum your skin produces throughout the day. Water-based cleansers alone often can’t fully break down these oil-soluble substances, which is why “double cleansing” became a core principle of Korean skincare rather than a marketing gimmick.
Who needs this step: Anyone wearing sunscreen or makeup during the day. If you didn’t wear either, you can skip straight to Step 2.
Step 2: Water-Based Cleanser
After the oil cleanser lifts away oil-soluble impurities, a gentle water-based cleanser removes sweat, dirt, and any residue left behind. This is the step that actually cleans the skin’s surface, and it’s the one step almost nobody should skip — everyone needs some form of cleansing, morning and night.
The key word here is gentle. A cleanser that leaves your skin feeling tight or squeaky isn’t doing you a favor — it’s stripping the skin barrier, which is the opposite of what this whole routine is trying to protect.
Step 3: Exfoliator
Exfoliation removes dead skin cells that can make skin look dull and prevent other products from absorbing well. In Korean skincare, this step is usually not a daily one — it’s typically done 1–3 times a week, depending on your skin’s sensitivity.
There are two broad categories:
- Physical exfoliants (scrubs, brushes) — generally more likely to cause micro-tears if overused
- Chemical exfoliants (AHAs like glycolic acid, BHAs like salicylic acid) — dissolve the “glue” between dead skin cells more evenly
If you’re new to exfoliation, start with once a week and watch how your skin responds before increasing frequency.
Step 4: Toner
This is where Korean skincare and Western skincare culture diverge the most. In many Western routines, “toner” means an astringent meant to strip oil. In Korean skincare, toner means something closer to the opposite: a hydrating, pH-balancing liquid applied right after cleansing to prep the skin for the products that follow.
A good toner rebalances the skin’s pH (cleansers, even gentle ones, tend to push skin slightly alkaline) and adds a first layer of hydration. This is also where you’ll start seeing ingredients like Centella Asiatica show up — it’s a calming, antioxidant-rich botanical extract long used in Korean skincare to soothe redness and support the skin’s natural repair process, which makes it a common choice for toners aimed at sensitive or reactive skin.
Step 5: Essence
Essence is arguably the most distinctly “K-beauty” step, and also the most confusing for newcomers. Think of it as a bridge between toner and serum — lighter and more hydrating than a serum, but more concentrated than a toner.
Essences are typically built around fermented ingredients or lightweight hydrators designed to boost skin’s ability to absorb everything that comes after. This is also where Niacinamide frequently appears. Niacinamide (vitamin B3) is one of the most well-studied ingredients in modern skincare — research supports its role in strengthening the skin barrier, improving the appearance of uneven tone, and regulating oil production, which is part of why it shows up across so many Korean skincare formulas rather than being confined to one product category.
Honest note: if your routine is already feeling long, essence is one of the easier steps to skip when you’re starting out. It adds refinement, not a foundational function — you won’t undo your skin barrier progress by leaving it out.
Step 6: Serum / Ampoule
This is the step where targeted treatment happens. Serums and ampoules are concentrated formulas built around a specific active ingredient meant to address a particular concern — brightening, hydration, texture, or barrier repair.
For skin barrier health specifically, look for formulas built around ceramides. Ceramides are lipids that occur naturally in the skin and make up a significant portion of what actually holds the outer skin barrier together. When the barrier is compromised — from over-exfoliation, harsh weather, or simply aging — ceramide levels drop, which is part of why “barrier repair” serums built around ceramides have become such a staple in both Korean and global skincare in recent years.
If you only add one active-ingredient product to a minimal routine, a ceramide serum is one of the more universally useful choices, since barrier support benefits nearly every skin type.
Step 7: Moisturizer
The final water-based step. Moisturizer seals in everything applied before it and provides its own layer of hydration, typically through a mix of humectants (which draw in moisture) and emollients (which smooth the skin’s surface).
This is also usually where ceramides reappear, since many moisturizers are formulated as the “sealing” layer specifically to lock barrier-supporting ingredients in place. A well-formulated moisturizer for barrier repair often lists ceramides alongside fatty acids and cholesterol — the same three lipids naturally found in healthy skin.
The Optional 8th Step: Sunscreen (Morning Only)
Technically not part of the original “7,” but non-negotiable if you’re doing this routine in the morning: sunscreen. All the barrier repair in the world won’t matter much if unprotected UV exposure keeps damaging the skin. If you only take one thing away from Korean skincare culture, let it be this — SPF is the single highest-leverage step in the entire routine.
The Realistic Version: What to Actually Do Every Day
Here’s the part most guides skip. You do not need to do all seven steps every single day. A more realistic breakdown looks like this:
Every day (AM and PM):
- Cleanser (oil + water at night if wearing sunscreen/makeup; water-only cleanse in the morning is often enough)
- Moisturizer
- Sunscreen (AM only)
A few times a week:
- Exfoliator (1–3x/week)
- Toner (can be daily if you enjoy it, but not essential for barrier health)
As needed, based on your skin’s goals:
- Essence
- Targeted serum (ceramide, niacinamide, or otherwise)
This 3-step “core” routine (cleanse, moisturize, protect) will get you most of the benefit. Everything else is optimization, not obligation — and adding steps gradually, one at a time, makes it much easier to tell what’s actually working for your skin.
A Note on Patch Testing
Whenever you introduce a new active ingredient — whether it’s an exfoliating acid, a new serum, or even a toner with actives — patch test it on a small area of skin (like behind your ear or along your jawline) for a few days before applying it to your full face. This is especially important with actives like niacinamide or exfoliants, which can occasionally cause irritation in sensitive skin even though they’re well-tolerated by most people.
Where to Go From Here
If this guide left you curious about any single step, that’s the point — each of these ingredients and categories deserves its own deep dive. A few natural next reads:
- Centella Asiatica, explained: how this calming ingredient actually works, and who benefits most
- Ceramides vs. Niacinamide: what your skin barrier actually needs, and when to reach for each
- Building a routine for your specific skin type: oily, dry, combination, and sensitive skin all lean on this framework a little differently
The glass skin look you’ve seen in K-beauty content isn’t the result of one perfect product — it’s the cumulative effect of a consistent, barrier-first routine, adjusted patiently over time. Start with the three non-negotiables, add one new step at a time, and let your own skin tell you what’s worth keeping.